With Windows 10, Microsoft made the biggest change to the Windows platform ever, in its history. Right from integrating their digital assistant into the OS, to shifting to a subscription (Windows as a service) model, Windows 10 marks the end of the conventional release cycles. Be it DirectX 12 to boost gaming performance or Microsoft Passport for authentication, Windows 10 packs a lot of new features that help it stand out.
In this article, we will take a look at the things to do after installing Windows 10 that every user must know.
Things to Do After Installing Windows 10 – Windows 10 Tips and Tricks
Table of Contents
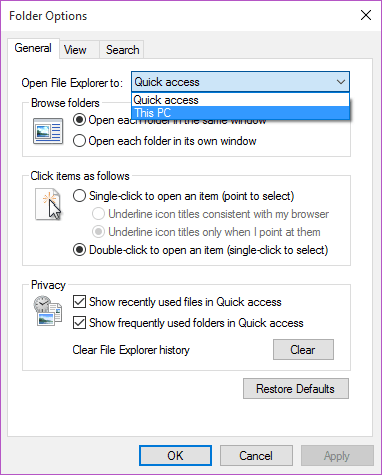
1. Open Windows Explorer to “This PC” instead of “Quick Access”
On Windows 10, the Windows Explorer opens to the Quick Access view by default, which may be great for some users who want to keep track of their recently used files, but maybe not for all. In order to disable this, click on view on the toolbar and then click on Options. From the list saying “Open File Explorer to: select Quick Access.

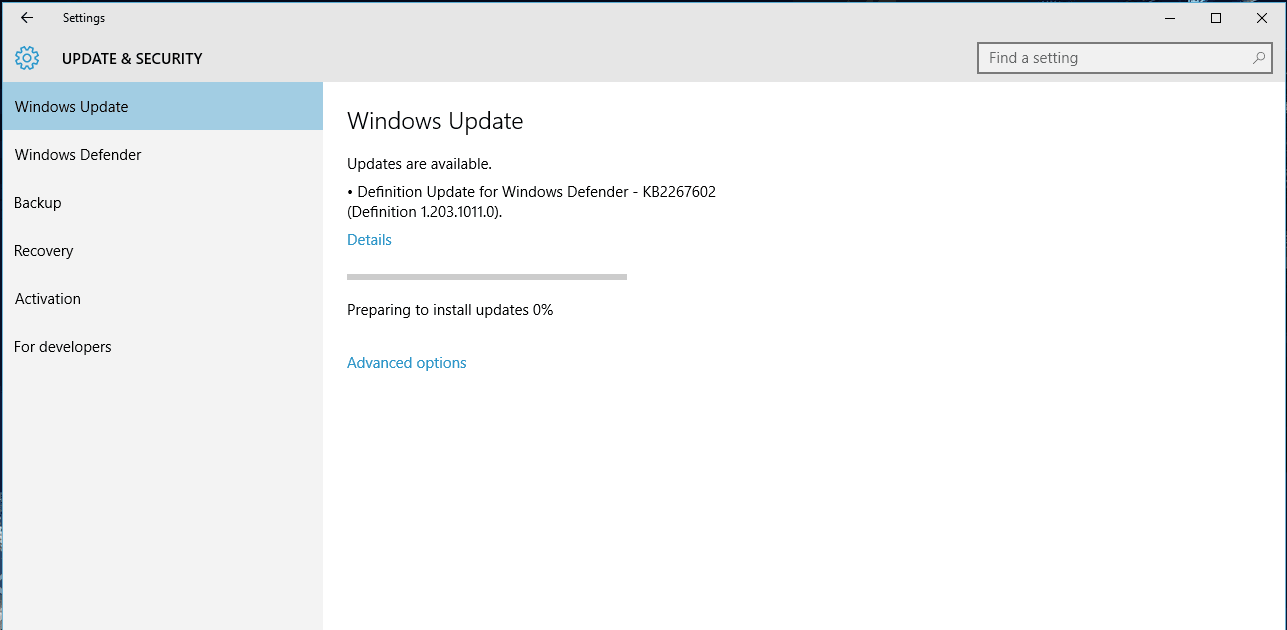
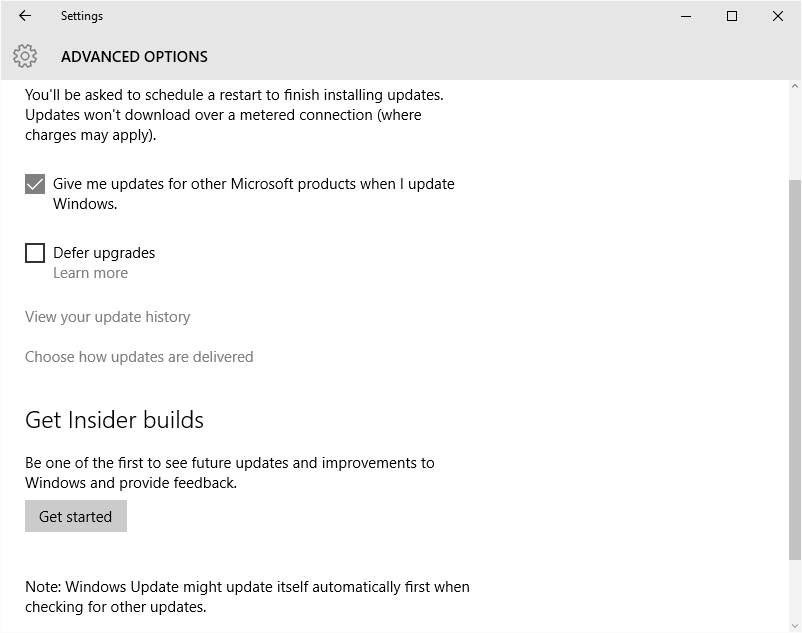
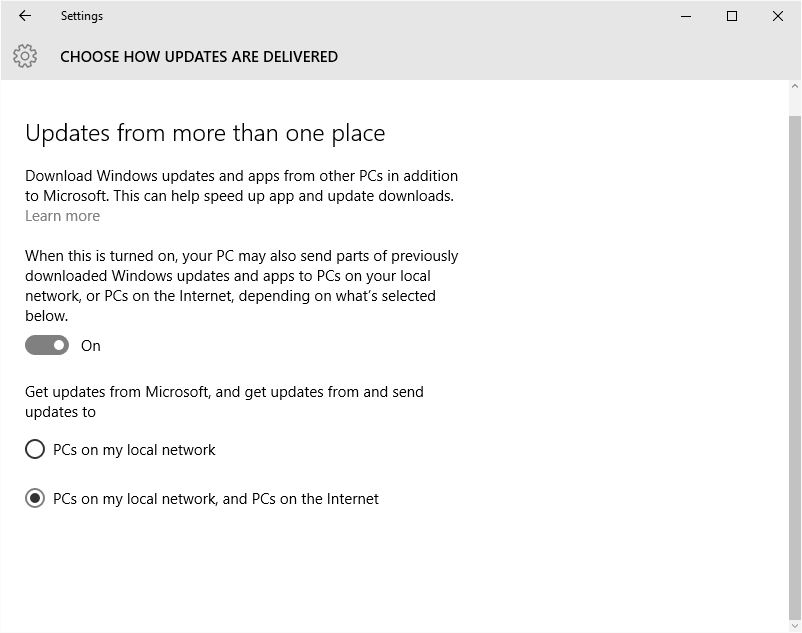
2. Download Updates from more than One Place
Fan of the bittorrent protocol/torrent websites, you will be glad to know that Windows 10 integrates the P2P protocol enabling it to download updates not only from Microsoft servers but also from already updated PCs on the internet or on your local network. To enable the setting, launch the Settings app. Under Updates, Click on Advanced options and then click on Choose how updates are delivered. By default, the option would be enabled, in case if it disabled (unchecked) then click on PCs on my local network and PCs on the internet.
3. Reclaim your hard disk space by deleting the old Windows Installation
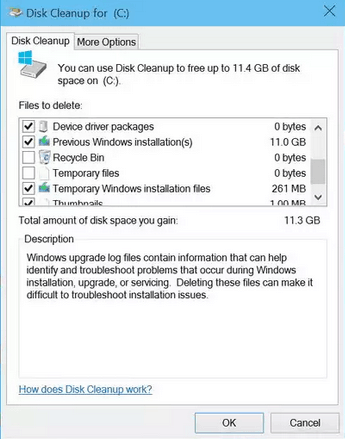
Most of the users who migrated to Windows 10 made the move by performing and upgrade which meant they have an option to roll back, just in case you are among the many who are completely enjoying the experience and will not downgrade, you can just delete the old OS installation which Windows saved in case you wish to downgrade. To do so, search for disk cleanup and launch it when the option for drive selection pops up, select C: drive, wait for it to initialize. From the menu, select “Previous Windows Installations” and “Temporary Windows Installation Files” and click Ok.
REMEMBER: This process cannot be undone so unless you are ready to make the switch to Windows 10 completely, DO NOT TRY THIS.
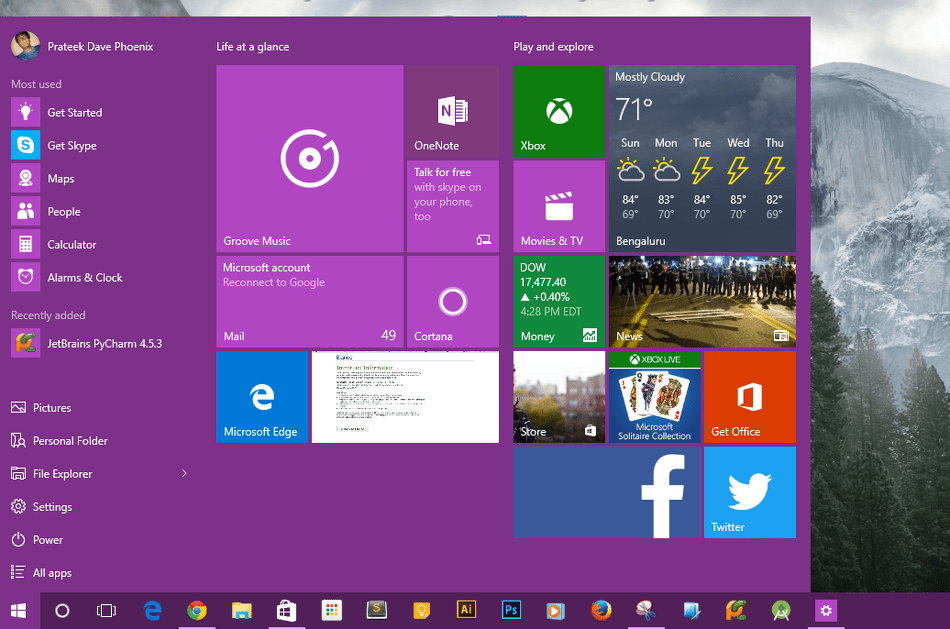
4. Take Control of the Start Menu by Removing Unnecessary Shortcuts
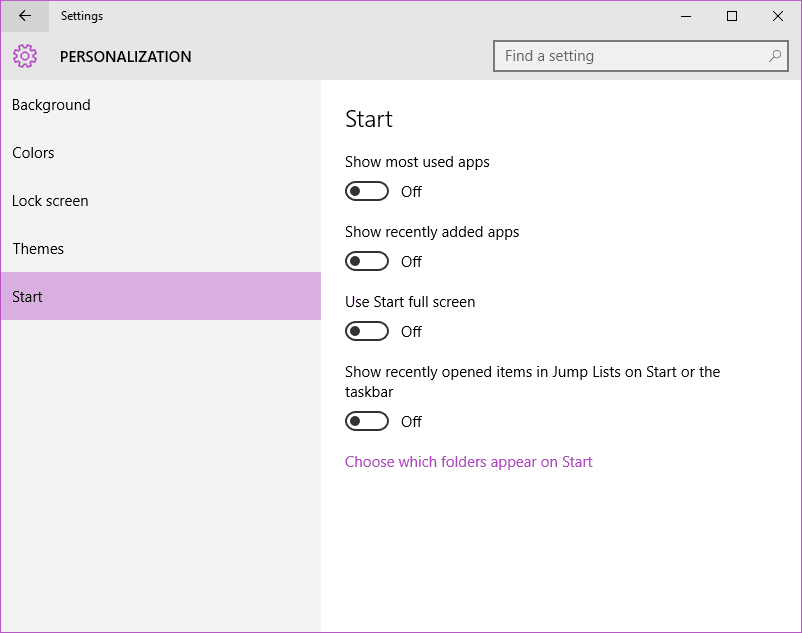
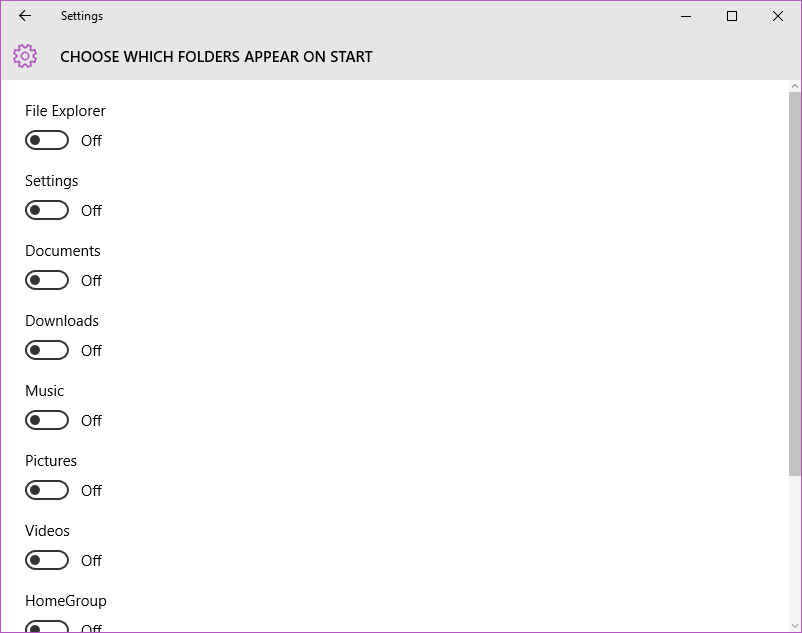
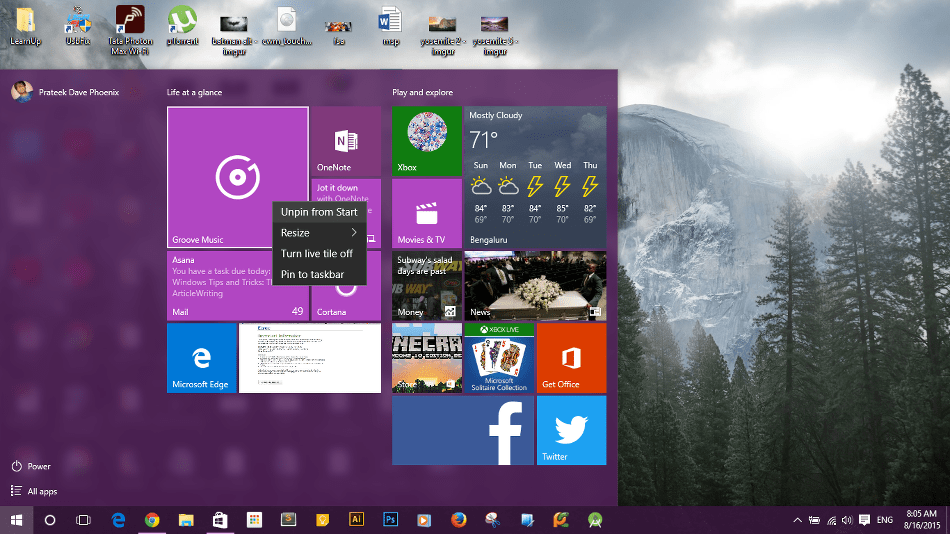
If you are not a fan of the cluttered start menu and would like to keep it minimal and unobtrusive, we’ve got you covered. Open the Settings app and go to Personalization. Now click on Start and uncheck all the options in the list. Once that is done just go ahead and scroll down to the option Choose which folders appear on start and unselect everything. Now head over to the Start menu and unpin all unnecessary apps manually by right clicking on them.
5. Resize the Start Menu According to Your Needs
On Windows 10 you get a nifty little option of resizing your start menu, just hover over the border to reveal the resize pointer and drag across the screen to make it wider or taller.
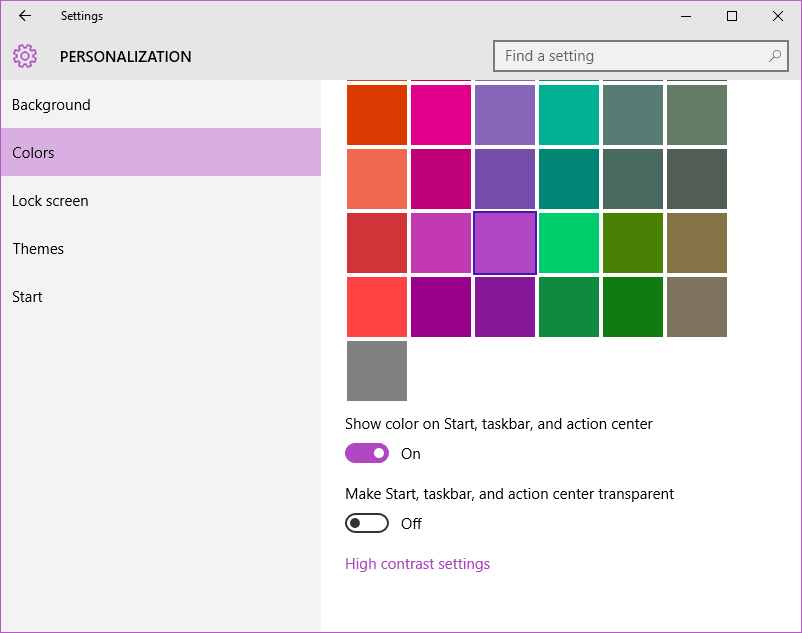
6. Enable/Disable Transparency
It has already been stated that Windows 10 packs in the best of both Windows 7 and Windows 8.1. To prove it once more Windows 10 brings back the Aero transparency which is enabled by default but just in case you liked the flat Metro theme from 8, you can switch the transparency off. Go to Settings -> Personalization -> Colors and uncheck Make Start, taskbar and action center transparent. Now when you open start you would get the Windows 8.1 style flat UI.
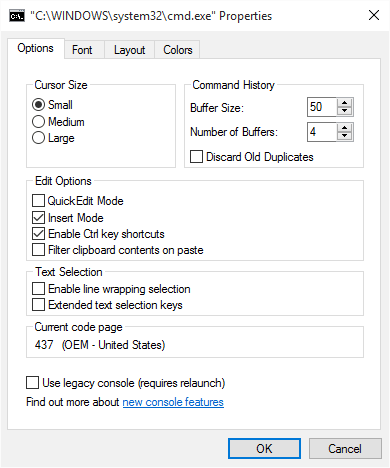
7. Command Prompt Keyboard Hotkeys
If you have ever used the command prompt on Windows, you definitely would have craved for the Ctrl+C, Ctrl+V hotkeys to work. That changes with Windows 10, you can use the familiar clipboard hotkeys on the command prompt. To enable them in case they aren’t, launch the command prompt, right-click on the taskbar and go to Properties. Under Options, click Enable Ctrl key shortcuts. And now the clipboard shortcuts will work on the command prompt.
8. Enable Cortana to Respond to Your Voice Only
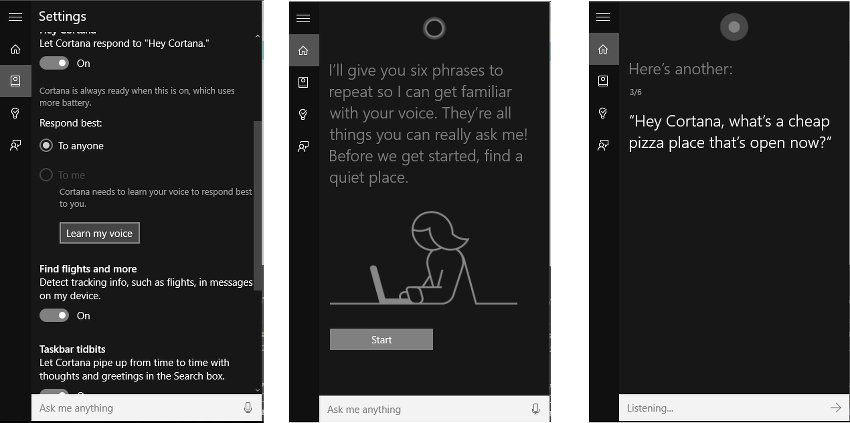
If you have been a Windows Insider, using preview builds for a while you are no stranger to Cortana. Even if you started using Windows 10 for the first time, you still know what she does and how is she different from Siri and Google Now. Well, this section isn’t about Cortana commands. There is one trick which most users are unaware of and that is the fact that you can key Cortana to your voice so that she responds only to you when you say “Hey Cortana”. To do so, launch Cortana by pressing Win+S / Win + Q. Click on Notebook and go to Settings, you will find an option that says “Respond best”. Click Learn my voice, you will have to go through a series of phrases so that she learns your voice. Once that is done, she will only respond to your voice.
9. Enable Dark mode on Microsoft Edge
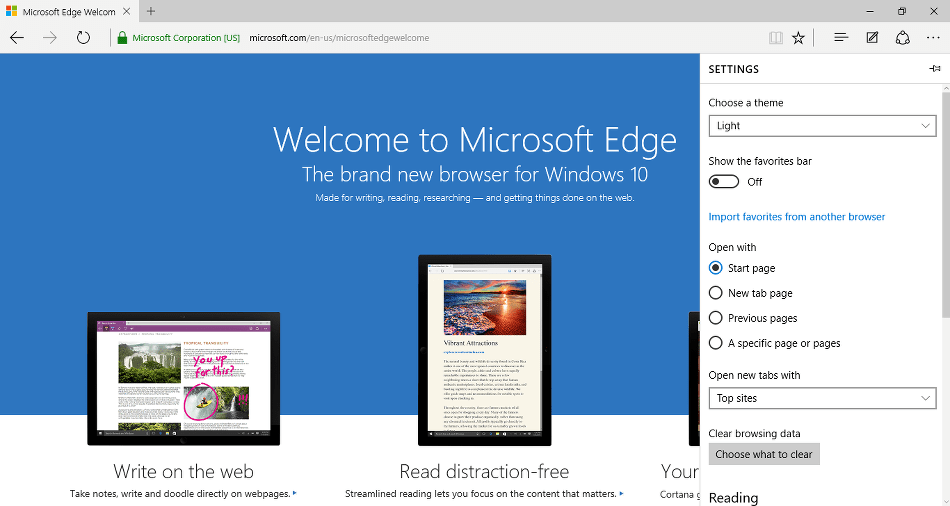
Microsoft finally released a replacement for the aged Internet Explorer. It is awesome, apart from being fast and full of future-proof features it also offers customizations (limited for now but will be extended in future updates). In addition to the dark theme in Windows 10, you can make Edge go dark to suit your needs. Launch Edge and then click on the three dots on the toolbar to reveal the overflow menu. Click on Settings. Under choose a theme select Dark and the Dark mode is now enabled.

10. Enable God Mode
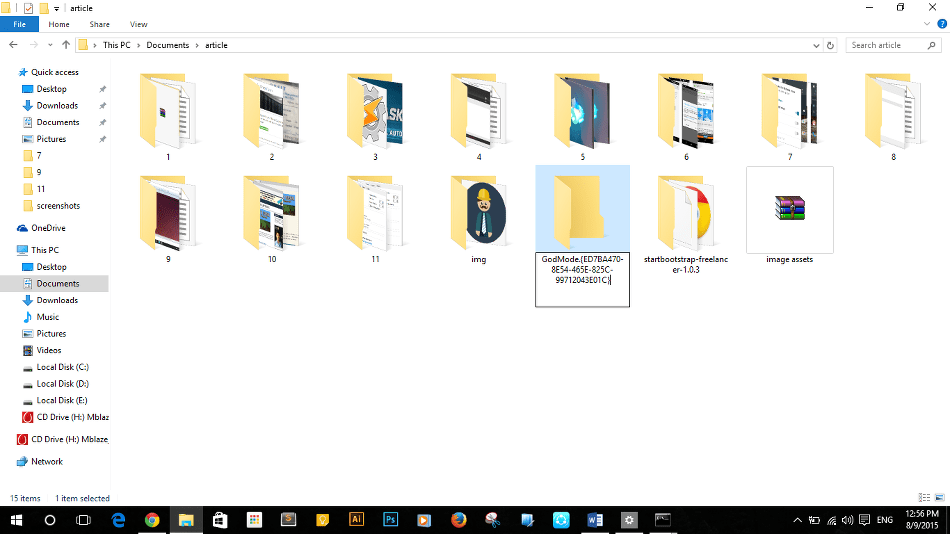
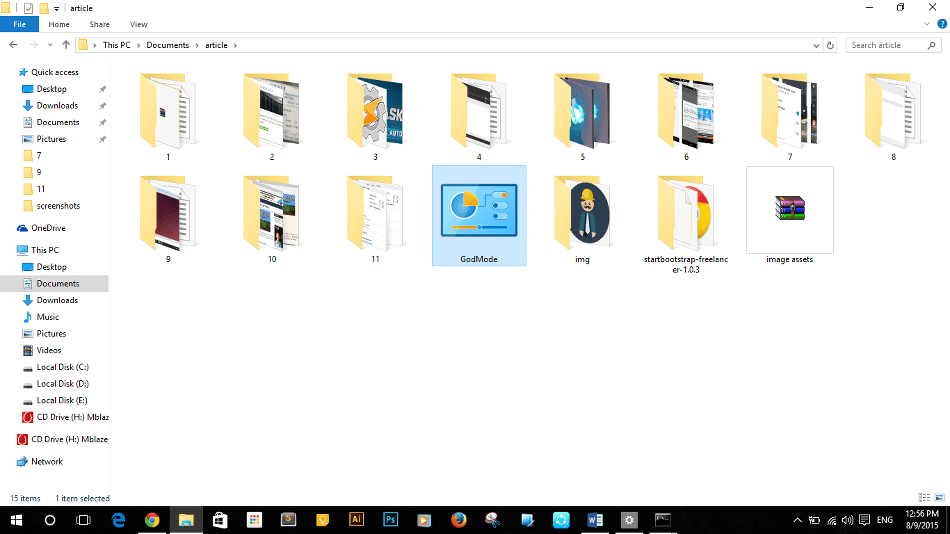
God mode is sort of like an Easter-egg to the Windows platform. It gives you access to the settings and options which are generally buried deep inside the menus. To enable God Mode, create a new folder and rename it to:
GodMode.ED7BA470-8E54-465E-825C-99712043E01C
This would change the New Folder to a God Mode App. Launch it to gain access to over 260 Settings.

11. Record Gameplay using Game DVR
Gamers who put their clips on websites like YouTube have always used a third party screen recorder app to record their gameplay. With Windows 10, they can use the Game DVR feature to do the same natively. To use Game DVR first sign in to the Xbox app. Now whenever you want to record your screen, press Win+G to launch the Game Bar, hit record and it will start recording the screen.


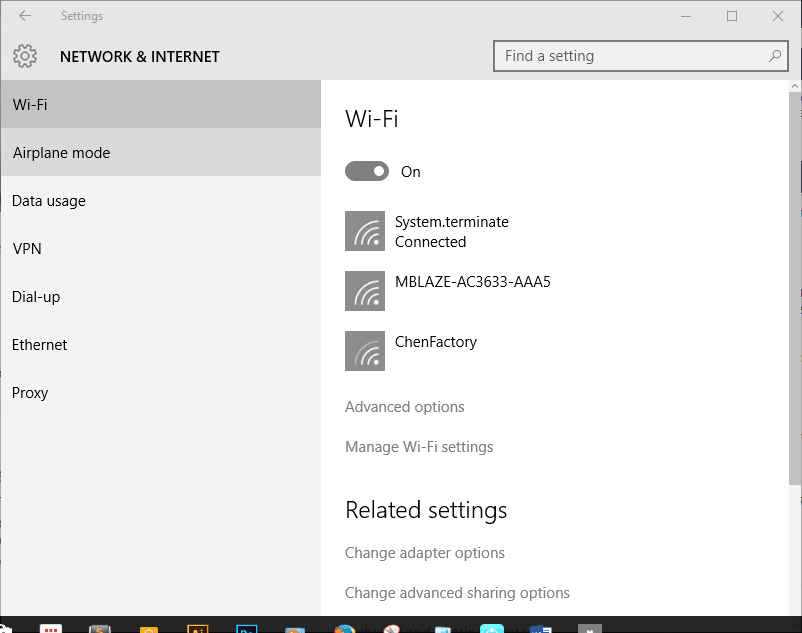
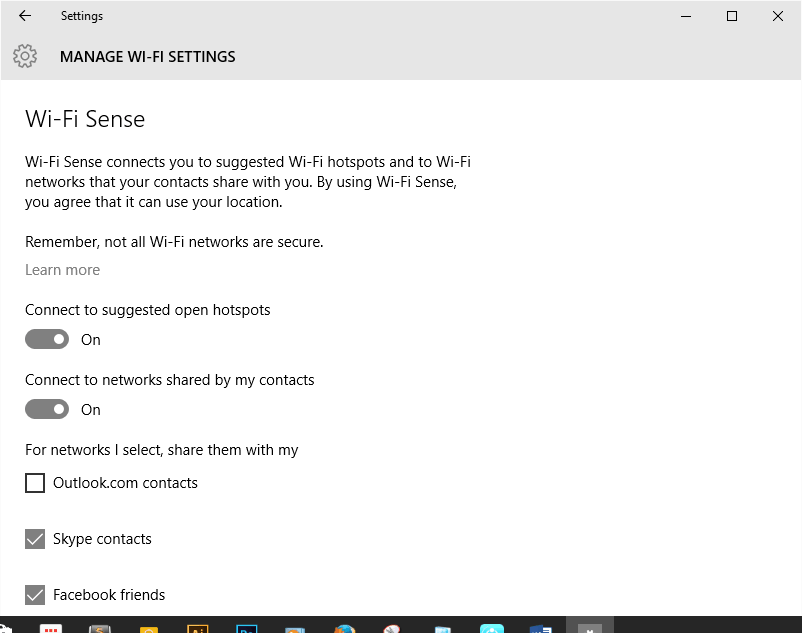
12. Disable Wi-Fi Sense
One of the most controversial features on Windows 10 is Wi-Fi Sense which lets you share your Wi-Fi password with your Facebook, Skype and Outlook contacts. To disable this go to the Settings app and click on Network and Internet. Click on Manage Wi-Fi settings and then uncheck all the networks.
Other Useful Tips
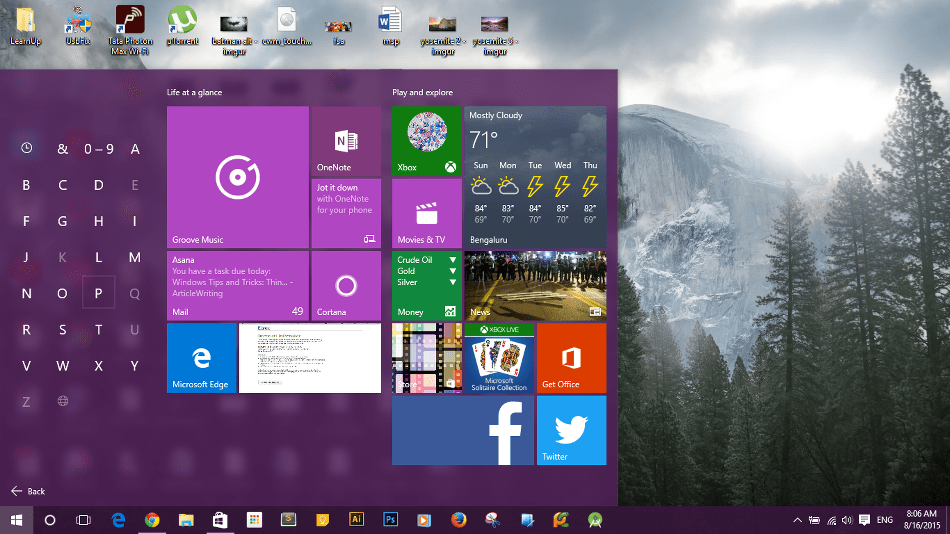
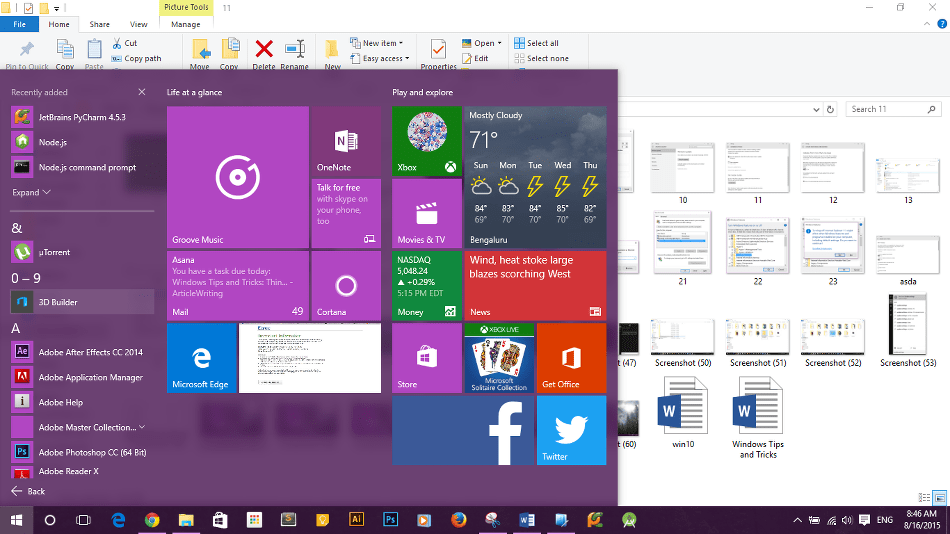
1. Reveal All Apps Alphabetically
On the start menu if you click on any letter above the name of the app in the All Apps section, it would reveal alphabetical quick access to all your installed apps.
2. Mount and Burn ISO Images Without Any Software
Windows 10 deals with ISO images natively i.e. you don’t need a third party app to mount or burn it. Just right click on the ISO image to mount it or burn it to a disk.

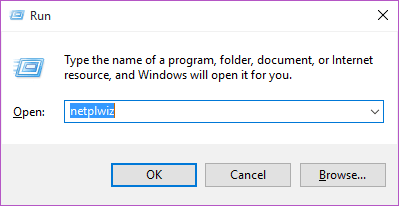
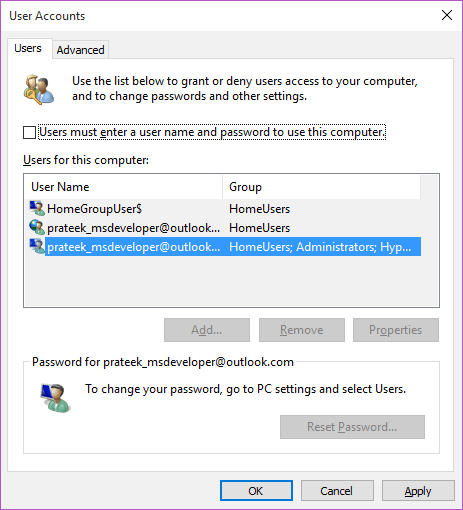
3. Remove Login Authentication
If you want to remove the login authentication, hit Win+R and type “netplwiz”, In the window that follows, untick “Users must enter a username and password to use this computer“, hit apply and a screen will appear to type in your password. This does not bypass the login screen, just disables authentication.
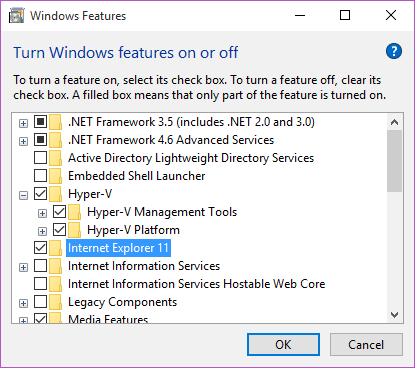
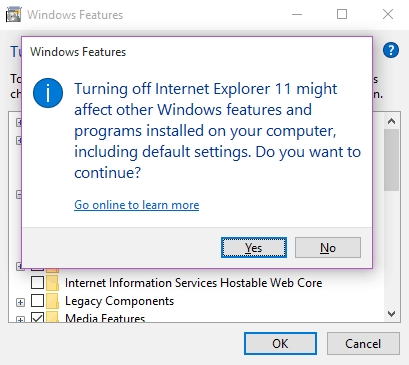
4. Remove Internet Explorer
After years of mockery and endless memes, Microsoft decided to switch their browser by releasing Edge. But if you wish to retire it completely, type “Turn Windows features on or off”. In the window that follows uncheck Internet Explorer and confirm.
Conclusion – Things to Do After Installing Windows 10
Windows 10 justifies its purpose by the improvements it offers to the core Windows experience and the features it packs to lure users. While this is by far a complete version of Windows, the operating system would be subjected to constant update cycles to enhance the experience even further.

Post a Comment